How To Change Gear Lube: OutBoard Motor Maintenance
If you’re planning on changing the oil on your fishing boat’s outboard motor this year you should really consider changing your gear lube while you’re at it. Just like oil, gear lube should be changed every 100 hours of use or at least once a year. It just makes sense to tackle both tasks in the same afternoon. As usual, we recommend doing this at the end of the boating season so that you’re good and ready for springtime.
WHAT YOU’LL NEED:
- Lower Unit Gear Pump
- Flathead Screwdriver, a fairly large one
- Catch Pan
- Large Piece of Cardboard
- Gear Lube – 80W-90 (SAE 90) is the most common, but make sure to check with the manufacturer.
LET’S GET STARTED:
- Keep it clean. Start by placing a good-sized piece of cardboard under the motor, and place your catch pan on top. This will keep the drips, squirts, and leaks off of the ground or workshop floor.
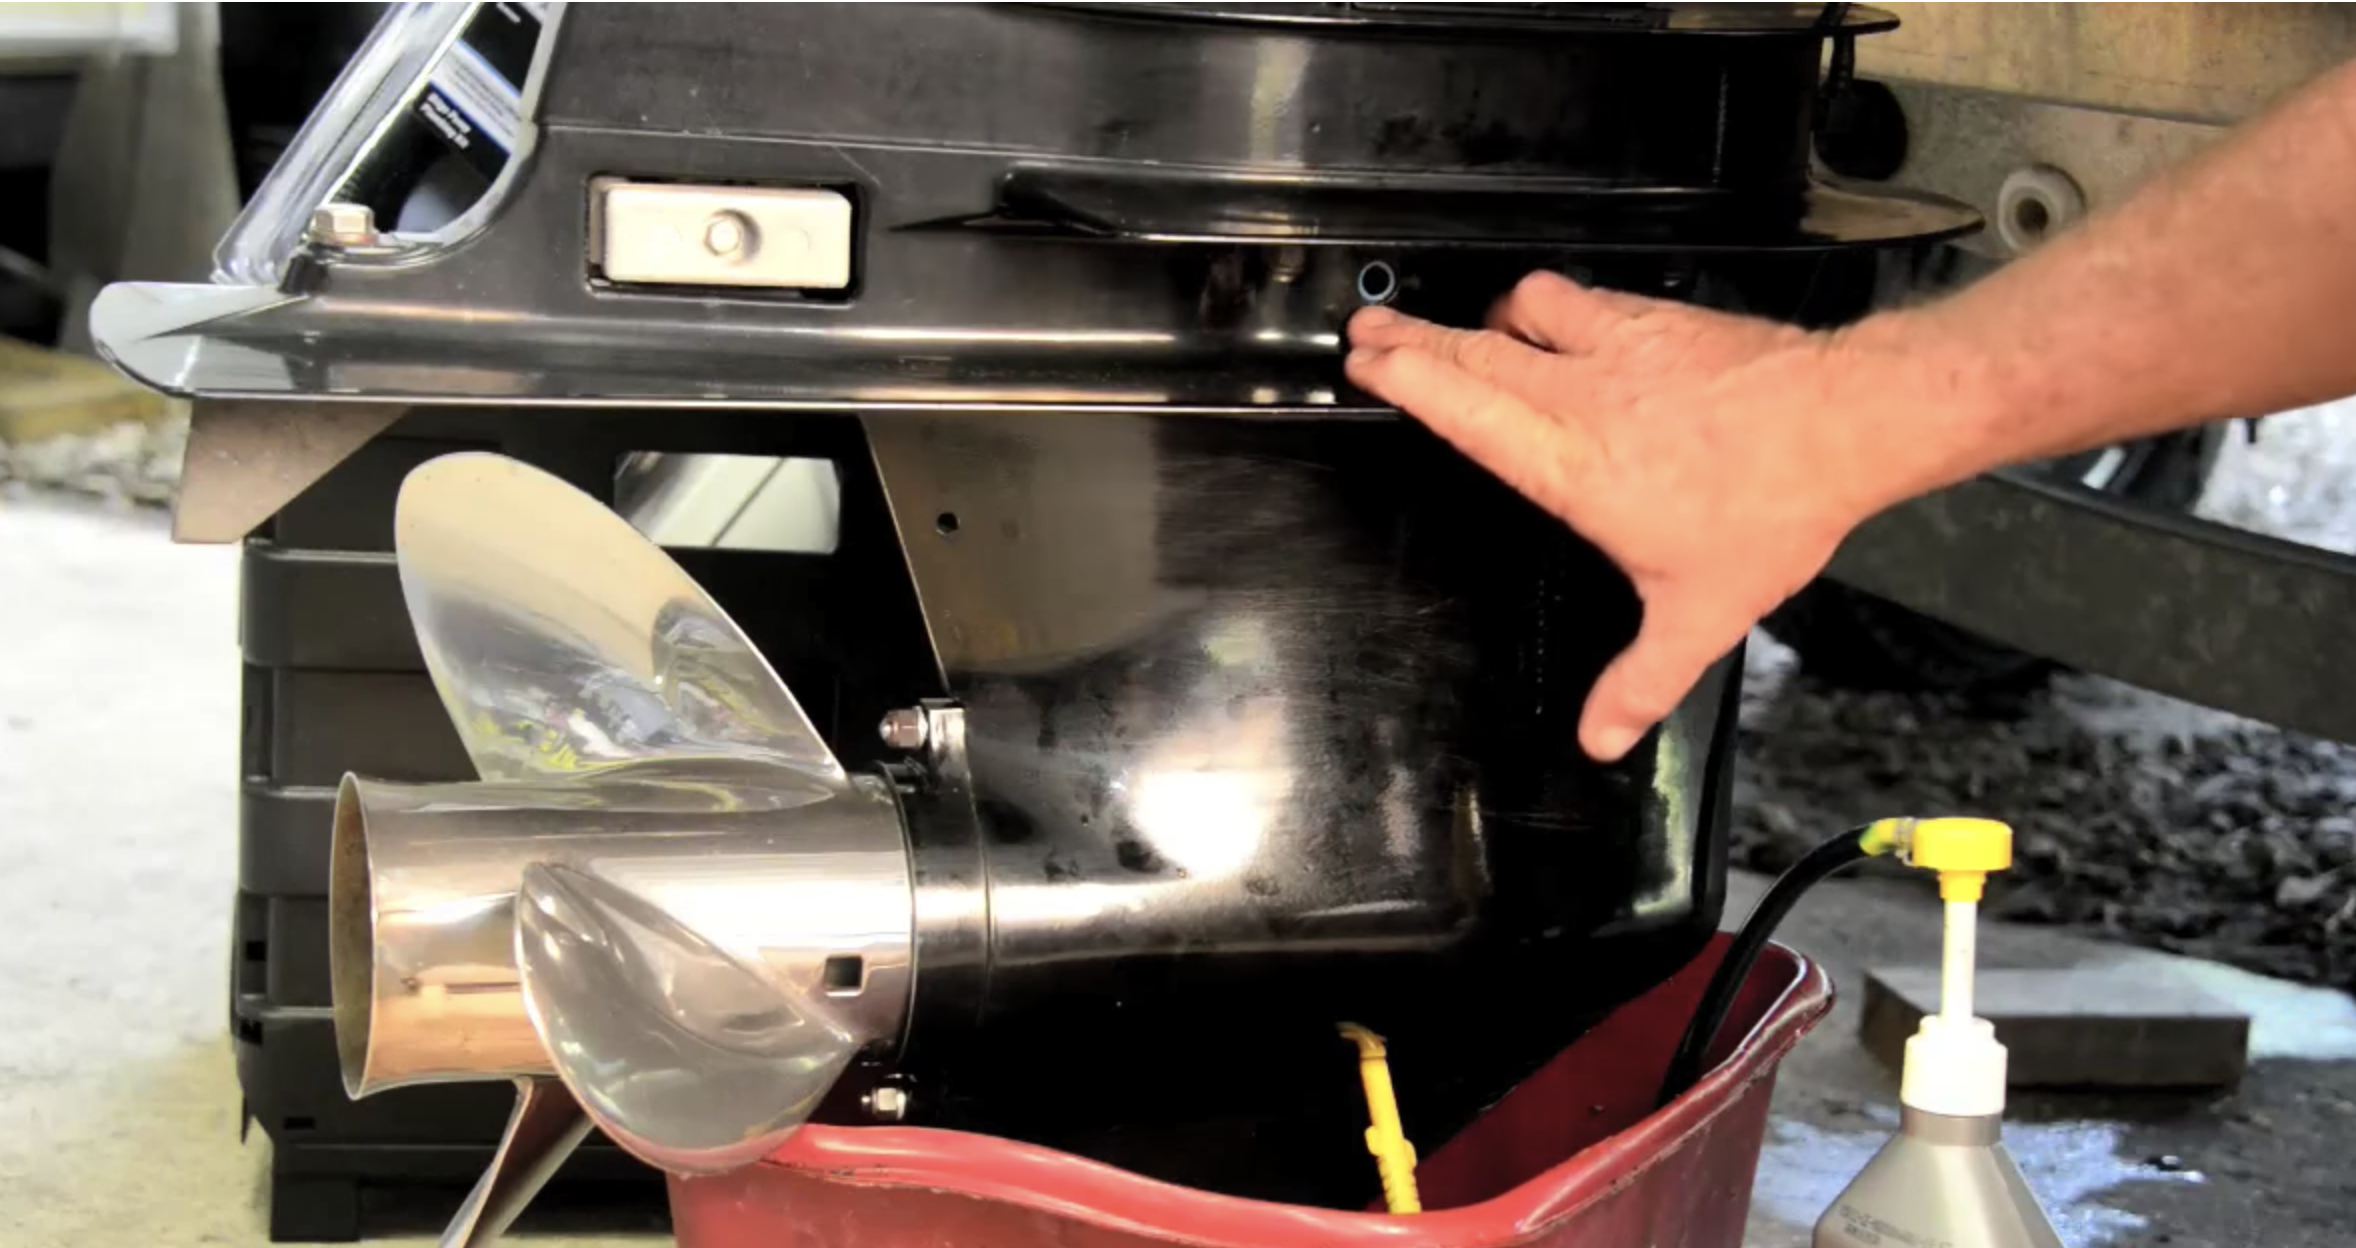
- Loosen the bottom plug, and then top plug. Some motor models will have 2 upper vent plugs. Make sure to get to both of them, and make sure not to remove them just yet. The purpose here is to make them easy to work with once the motor is in place.
- Trim the motor down into the catch pan. Make sure that the motor is nice and level so that gravity is pushing straight down.
- Remove the plugs starting with the bottom and working your way up. Going from top to bottom causes pressurization and likely a big mess. Let everything drain, this will take a few minutes.
- While you’re waiting, it’s a good time to check a few things
a) Check the plugs (some are magnetic) for any metal shavings.
b) Check the oil for any signs of water mixing in. If water has gotten in your oil is going to have a milky consistency.
If either of these are an issue for you, it’s best to take the motor into your dealer for diagnostics and repairs. - Once the draining gets to a very slow drip (you’ll never get 100% of the oil out) it’s time to thread your Lower Unit Gear Pump into the lower plug. Caution: Filling your lower unit from top to bottom may cause air to get trapped inside of the components. Not a good idea.
- You’ll know your gear lube is topped off once a small amount drips from the upper vent plug. Make sure to have an extra bottle on hand, but a single 1L container usually does the trick.
- Return the plugs in place. Starting with the top creates a bit of a vacuum. When you remove the pump and replace the bottom plug only a small amount of oil will drip out. Be quick about it though, you don’t want to lose too much oil.
- Clean up! As always, make sure to dispose of the oil container, cardboard, rags, etc.. in an environmentally responsible manner. It’s the right thing to do.
PRO TIPS:
- You’ll have to trim the motor a few times in order to get to the lower plug. Always make sure to lower it back down to a level position so that all the lube can drain properly.
- Take a few extra minutes to inspect your prop. You would be surprised at how much fishing line is floating around out there, and how easy it is to tangle up your prop shaft without even noticing. Remove the prop, check for line, and remember to grease the splines before you put the prop back on. This quick job can save you the hassle of having to replace your prop seals.
Did you find this helpful? If you’re the DIY type and need a guiding hand we’re here for you. Send us your feedback and let us know what project you’d like a little help with. Or, check back often for more DIY and maintenance tips.
If you prefer to save your time, money, and effort, we have you covered.
Yours In Boating,